Thermit® welding
The inventor:
Hans Goldschmidt was the second son of Theodor Goldschmidt born in 1861 in Berlin. Like his father and older brother Karl, he studied chemistry at the University of Berlin, where he was a student of the famous Robert Wilhelm Bunsen and showed outstanding ability even in his early years. After graduating he joined the management of the chemical factory Th. Goldschmidt in 1888 and over the next 30 years, took over the research and development of new products. Hans Goldschmidt became one of the most famous chemists of his time and you'll find a lot about him today in the textbooks.
Toward the end of the 19th century, Prof. Dr. Hans Goldschmidt discovered how to extract heavy metals from their oxides by the oxidation of aluminium at his works in Essen. This alumino-thermic process was called Thermit®-welding.
Thermit® welding:
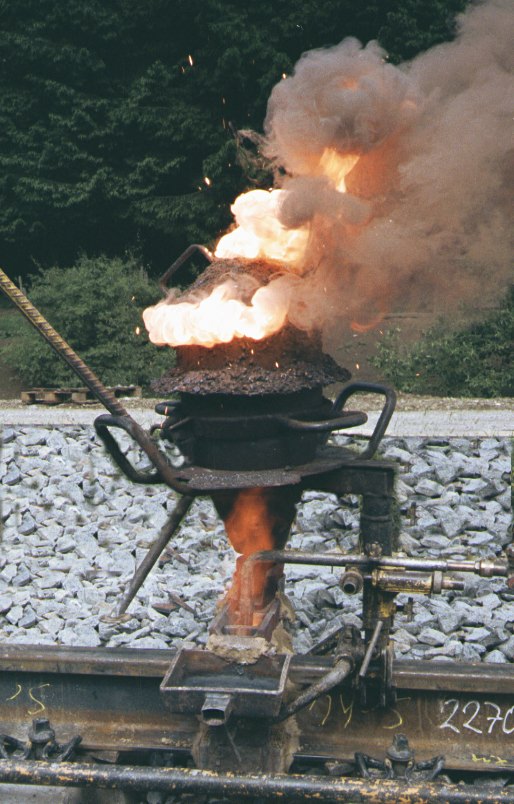
In the Thermit® process, a mixture of iron oxide and finely divided aluminium, is ignited in a crucible. The resulting chemical reaction (the so-called conversion) provides molten iron and molten aluminium slag (aluminium oxide), both of which are at a temperature of about 2,400°C. The slag floats on the Thermit® steel due to its low weight. After a waiting period, and after the expiry of the conversion, the crucible is cut away. The liquid steel is mainly used for the welding of large workpieces and especially of railway rails.
Casting crucible:
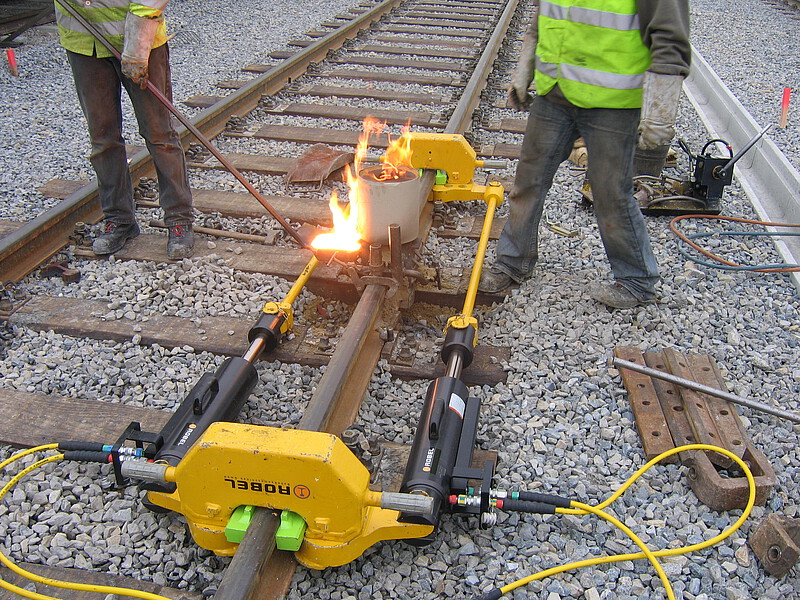
The welding package with the incendiary sticks is prepared in the crucible. Before the first time it is used each day, the crucible is dried with a burner and heated up to at least 100°C. After each casting the loose slag should be removed and the inner side of the crucible cleaned. A dry reserve ready-to-use crucible should always be kept in stock. The crucible retaining ring with 3 legs is the bracket for the casting crucible. With its help the crucible can be placed on the floor, to be prepared there for the next casting and then set up with a pipe leg on the universal clamping device.
Carrying out the welding process
The alignment of the rail Ends:
The rail ends are lined up by eye and then with a 1m long ruler. The rails must be accurately aligned, because otherwise this will have a big influence on the running surface later. Also the rail feet must be aligned with each other, so that the welding surfaces can show as much as possible on the contact surface for welding.
The installation of half-moulds for welding
The finished moulds (2 halves), must be capable of being adjusted to the rail profile to be welded without problems. After attaching the mould halves, they are clamped into the so-called retaining plate and later held with the gripping device centrally over the weld holes.
The gripping device
The<link lexikon/gleisbau-und-instandhaltung/werkzeuge-und-kleinmaschinen/schienenziehgeraete/> gripping device </link>is clamped to one of the two rail heads in accordance with the adjustment dimension and is later used to support the half-moulds in the holding plates.
The quartz sand
The gaps between the finished moulds, the griping device and the rail ends to be welded are filled in by means of quartz sand. Care should be taken that no hot welding metal can run out of the finished moulds when they are being filled.
Bring the crucible into the welding position:
The distance between the crucible and the mould should, after aligning, be no more than about 4 cm. The opening of the crucible must not touch the mould, because otherwise the lock will not be released, and it would not be possible for the hot liquid Thermit® steel to run out.
The initiation of the implementation
The ignition bar is now ignited by the flame of the burner, then it is inserted into the welding portion and the implementation is initiated. Now the crucible with the associated crucible cap is covered.
The inflow of the mass in the moulds (the so-called casting):
After the implementation + delay time has expired, the liquid Thermit® steel can run through the channels into the cavities in the mould. The steel is mixed and now, when it solidifies, the rail ends are welded together.
The machining of the weld
After about 3 minutes, the steel in the mould has solidified. Now the mould retaining plates can be carefully removed. The head bead is carefully separated with a trimmer, the foot riser and the remaining parts of the mould remain until the complete cooling of the weld or the rail ends.
The rough grinding on the weld
After the complete removal of the flash on the rail head, the running surface and the running edge should be ground while still hot.
The cleaning of the weld
The weld joint must be cleaned of residues of moulding sand and half-moulds. The rail must not be affected by the use of the impact tools.
You can find suitable specialist literature to the topic here:
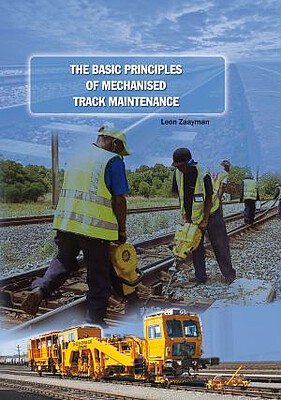
The Basic Principles of Mechanised Track Maintenance
This book is dedicated to the many people involved in the day to day planning and performance of track maintenance activities. Providing a practical approach to everyday challenges in mechanised track maintenance, it is not just intended as a theoretical approach to the track system.
Railways aim at transporting people and freight safely, rapidly, regularly, comfortably and on time from one place to another. This book is directed to track infrastructure departments contributing to the above objective by ensuring the track infrastructure’s reliability, availability, maintainability and safety – denoted by the acronym RAMS. Regular, effective and affordable track maintenance enable RAMS to be achieved.


